Description:
OS and Data disks should be encrypted using a Customer Managed Key (CMK) stored in Azure Key Vault. This ensures the organization controls the encryption keys instead of Azure. CMK provides stronger security, better compliance, and full control over key rotation, access, and lifecycle. Disks using Platform Managed Keys (PMK) or unencrypted disks do not meet this requirement.
Rationale:
Encrypting OS and Data disks with a Customer Managed Key (CMK) gives the organization full control over who can access, rotate, or revoke the encryption keys. This provides stronger security compared to Azure’s default Platform Managed Keys.
CMK helps meet compliance requirements (ISO 27001, SOC 2, HIPAA, PCI), protects sensitive data, and ensures that only authorized users and systems can manage disk encryption. It reduces the risk of unauthorized access, misuse, or data exposure.
Impact:
If OS and Data disks are not encrypted with a Customer Managed Key (CMK):
The organization loses control over the encryption keys.
Encryption key rotation and access cannot be managed securely.
Compliance requirements for regulated workloads may not be met.
Snapshots and backups may be less secure.
There is a higher risk of data exposure in case of VM compromise or unauthorized access.
Default Value:
By default, Azure encrypts OS and Data disks using a Platform Managed Key (PMK).
Customer Managed Key (CMK) encryption is not enabled automatically and must be manually configured by the user.
Pre-requisites:
Access to Azure Portal with Owner or Contributor permissions.
An Azure Key Vault has already been created.
A Customer Managed Key (CMK) is available in the Key Vault.
A Disk Encryption Set (DES) linked to the CMK.
Test Plan:
Sign in to the Azure portal: https://portal.azure.com
In the portal, search for Disks. Open the OS or Data disk.
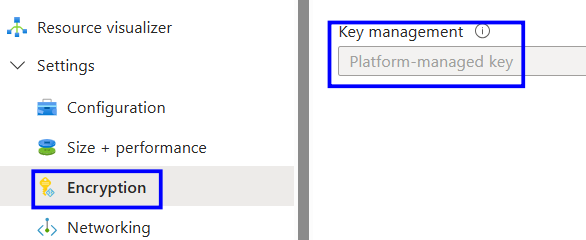
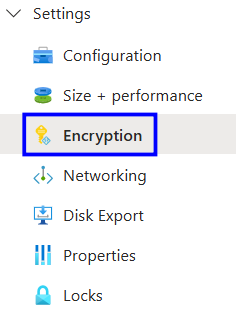
Under the settings. Click Encryption.
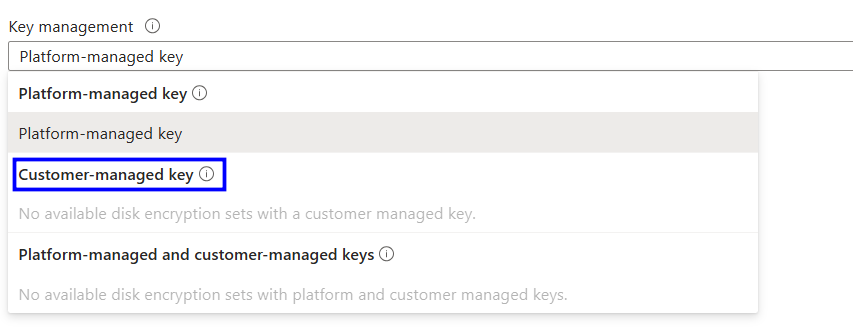
Check the Key management type and verify that it is set to Customer-managed key.
If it shows Platform-managed key, then follow the implementation Steps.
Implementation S:
Sign in to the Azure portal https://portal.azure.com
Create or open an existing Key Vault.
Create a Customer Managed Key (CMK) inside the Key Vault.
Create a Disk Encryption Set (DES) and link it to the CMK.
In the portal, search for Search for Disks. Open the OS or Data disk.
Under the settings. Click Encryption.
Change the key Management Type to Customer-managed key.
Select the Disk Encryption Set (DES) you created.
Click Save to apply the CMK encryption.
Backout Plan:
Sign in to the Azure portal at https://portal.azure.com.
Search for Disks and open the disk that was modified.
Under Settings, click Encryption.
Change the Key management back to Platform-managed key (PMK).
Click Save to apply the change.
References:
https://learn.microsoft.com/azure/virtual-machines/disk-encryption
https://learn.microsoft.com/azure/virtual-machines/disk-encryption-set
https://learn.microsoft.com/azure/security/fundamentals/encryption-atrest


